
Masonry
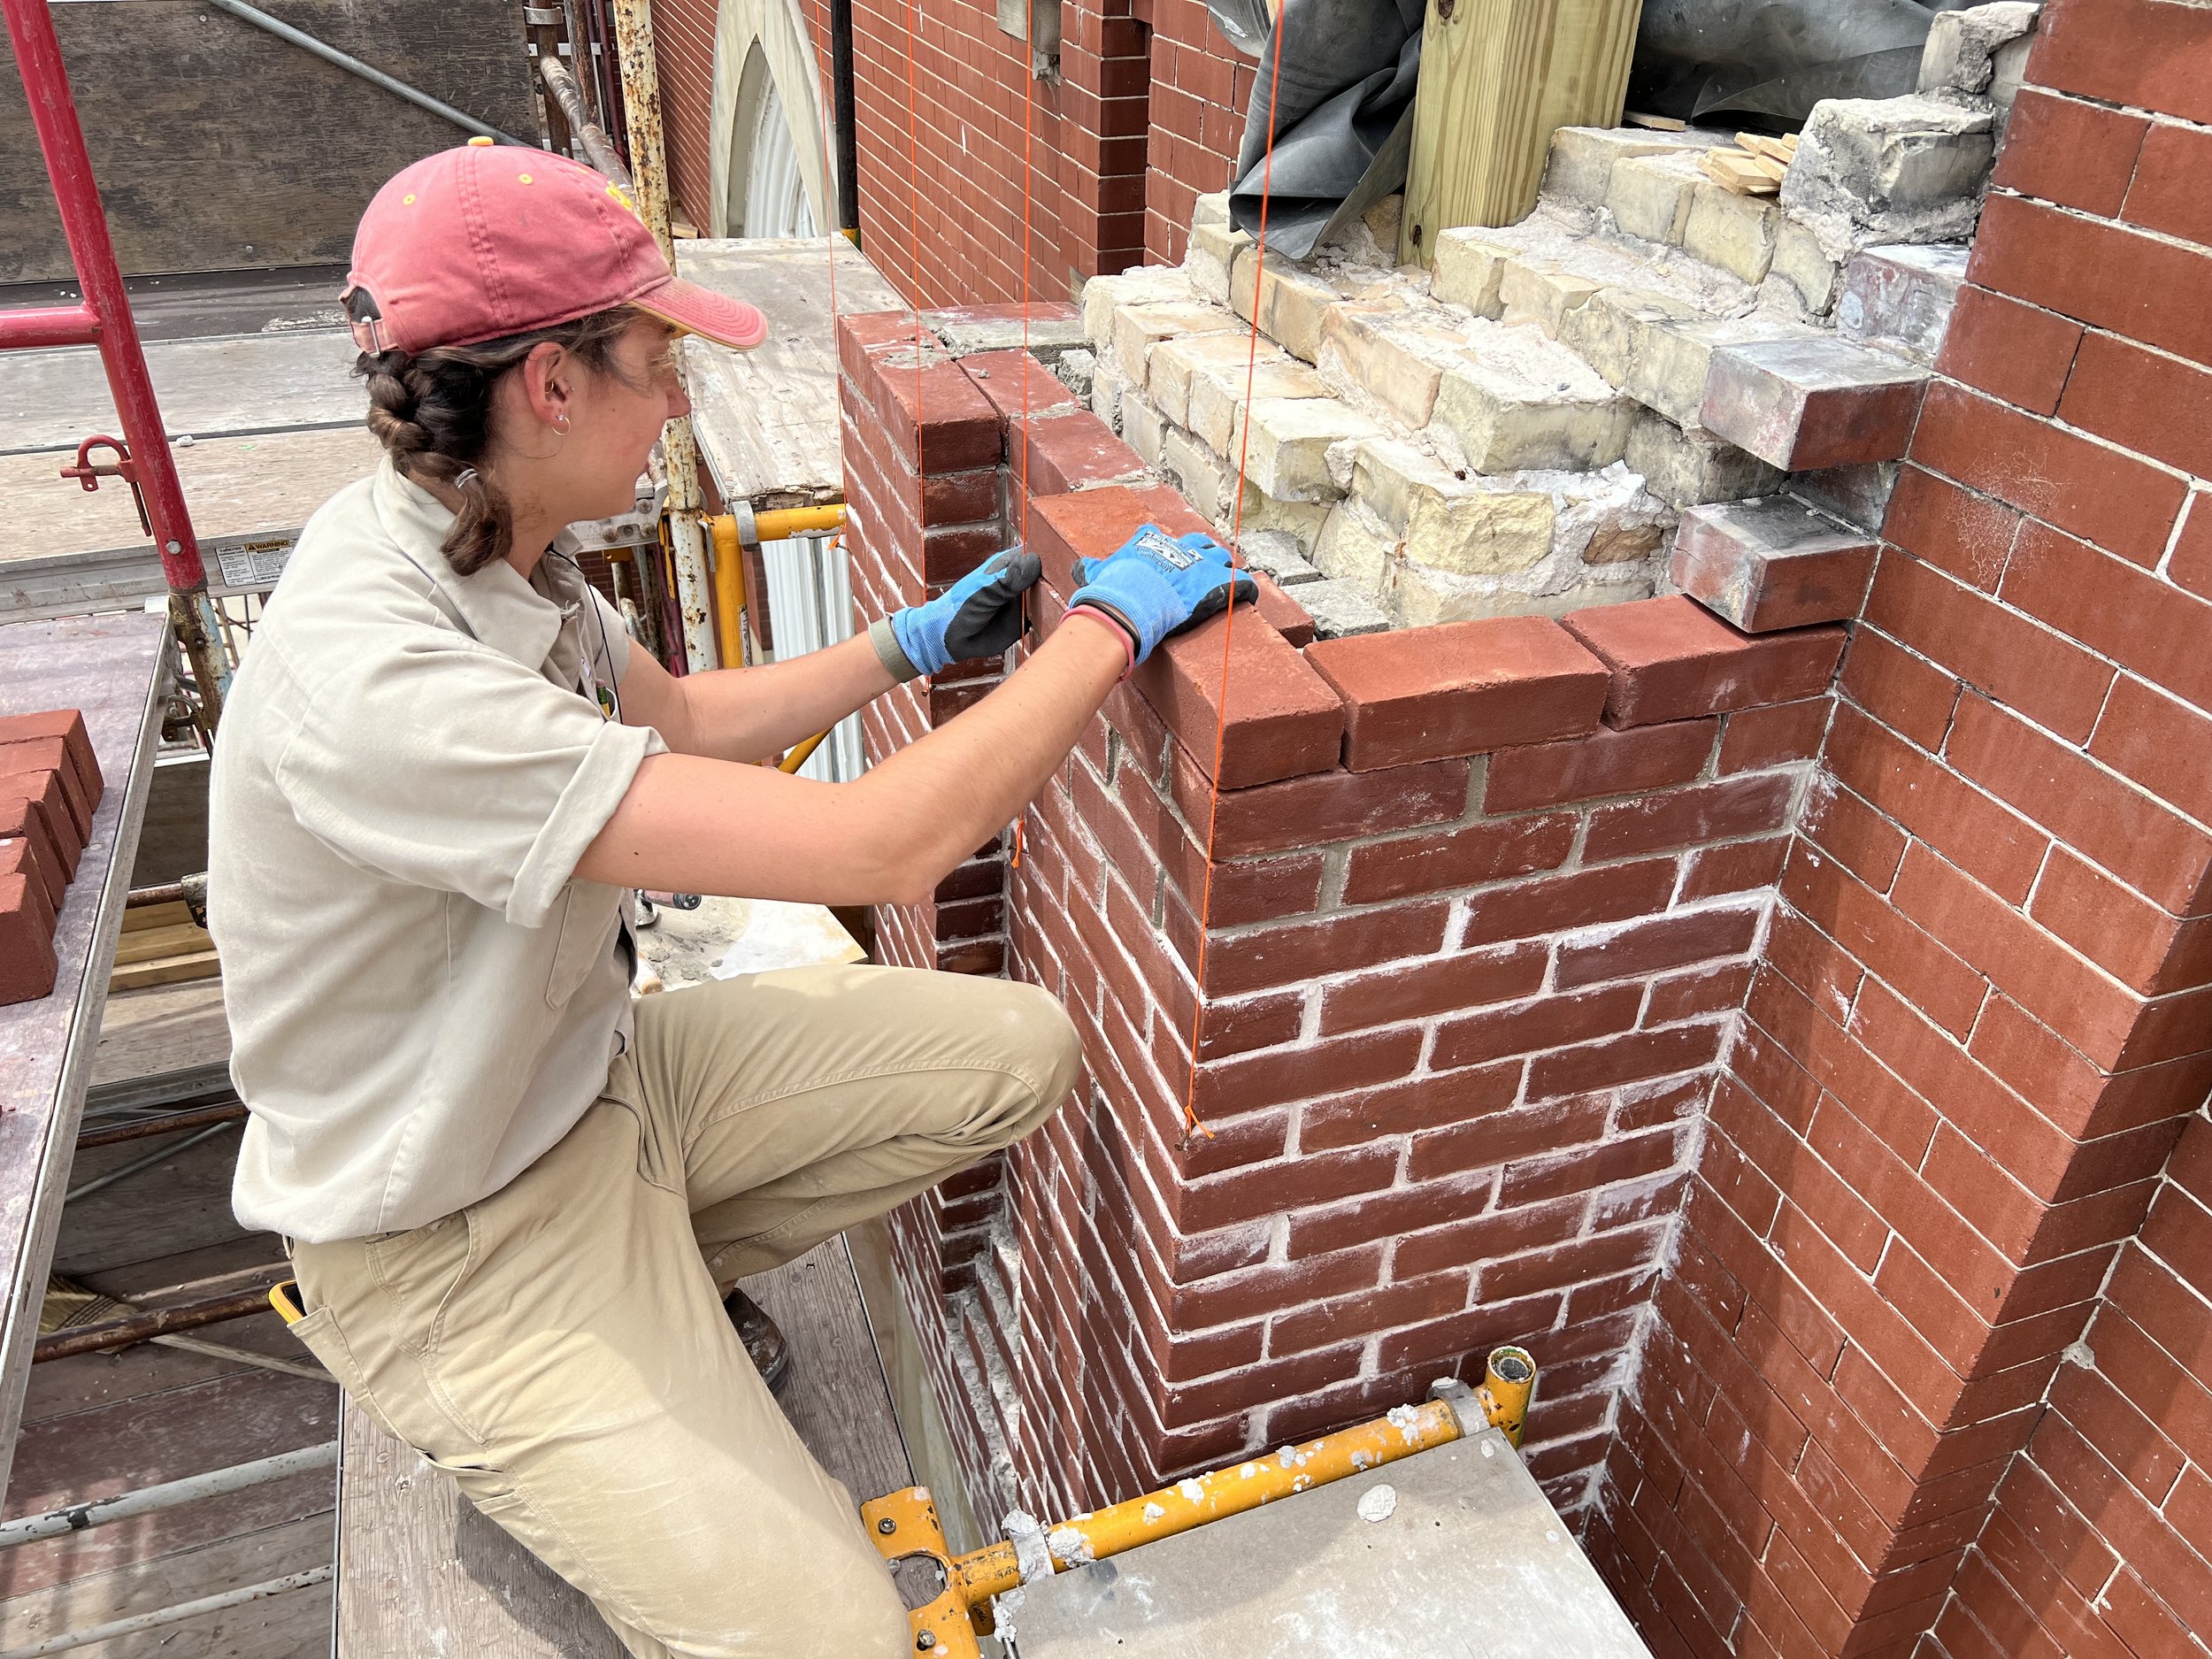
Old bricks and mortar are physically different than new ones. Restoring old masonry requires special techniques, tools, and materials. We formulate our restoration mortars from scratch – raw Portland cement, hydrated lime, various sand and aggregate blends – each one a custom mix for the job developed from a thorough analysis of the original mortar. And we match the old mortar color and finish tooling exactly, blending our own mortar colors, and using historic tooling techniques.
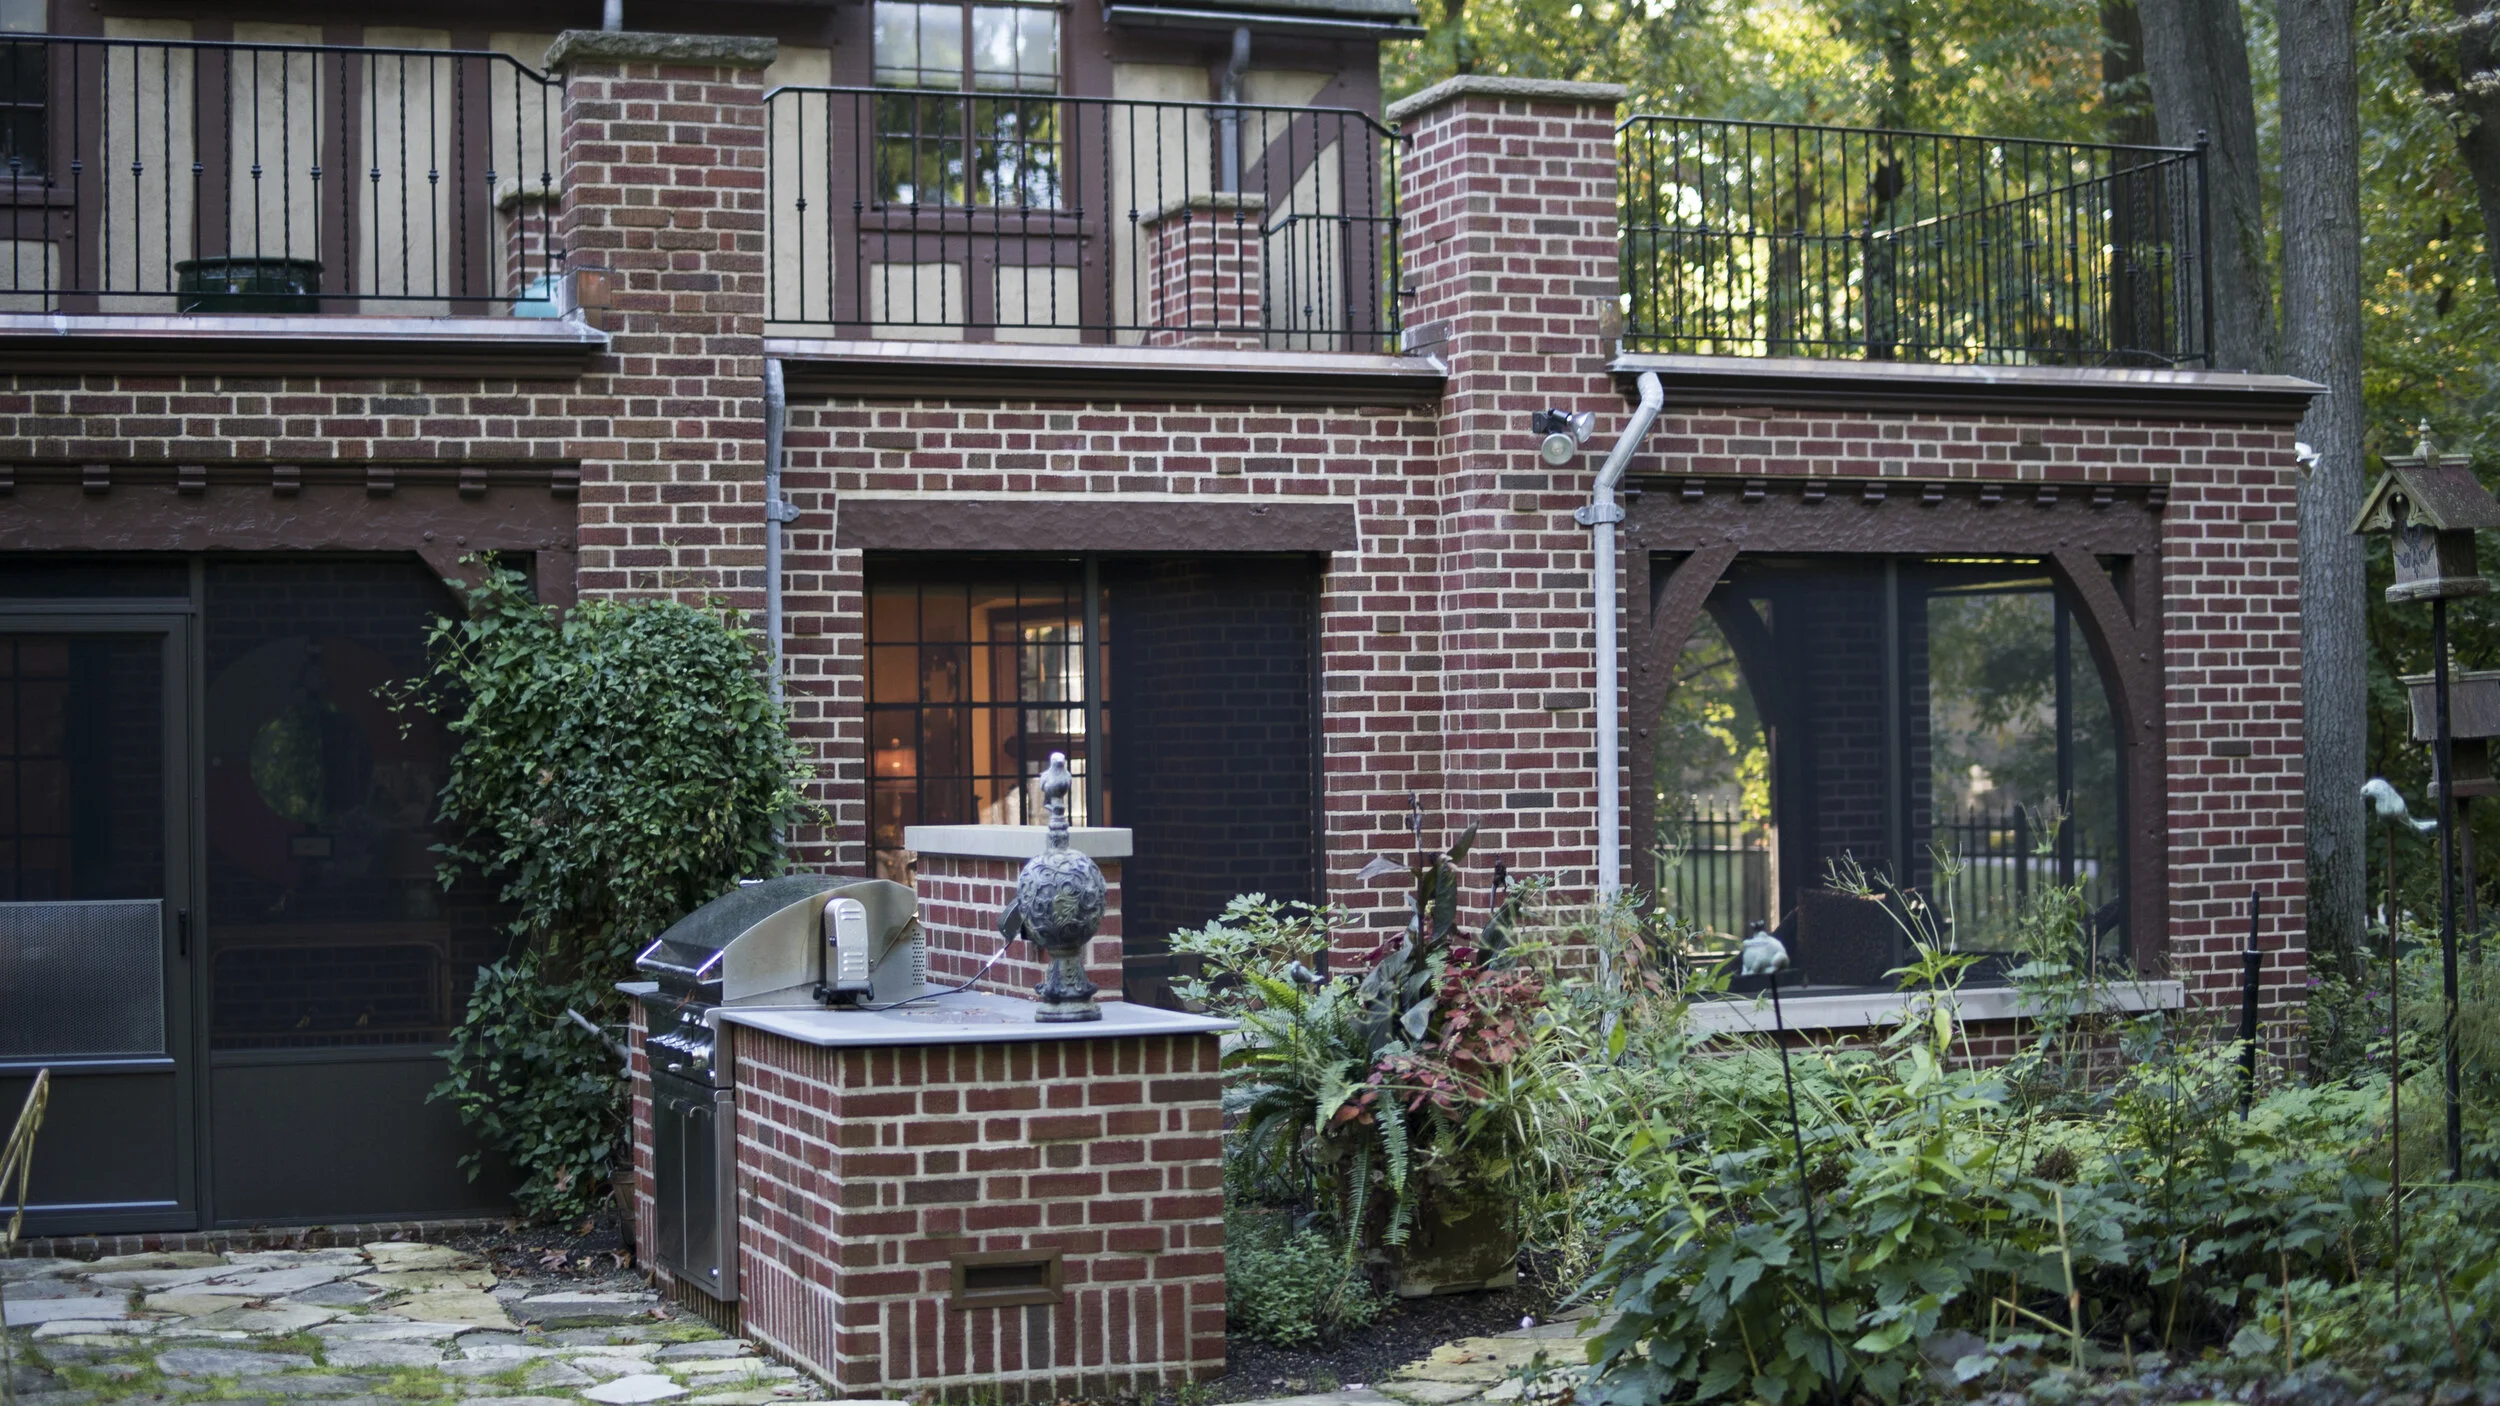
For chimney rebuilding, we incorporate all of the little fussy mechanical details: how rainwater drips off, how the flashing is designed, how the flues and the cap respond to weather changes. These will make this sometimes major investment last as long as possible.


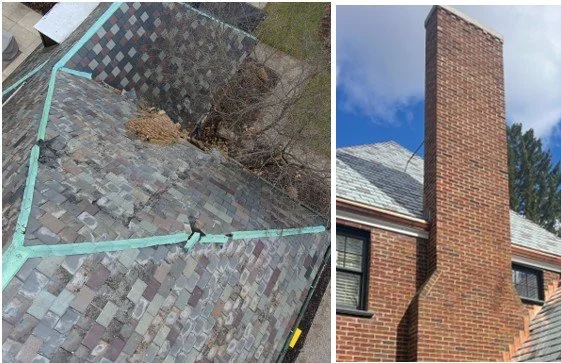
Original chimney fell over on to the roof of the house during a windstorm. We salvaged the original bricks and rebuilt the chimney mixing in new pieces where needed. We added a support bar to reduce the risk of the chimney falling over again.
The mortar color and aggregate were matched to the original joint to make a seamless repair from the eave up to the cap.
About Mortar
Mortar formulations have changed over time, but all mortar is made of sand and cement. All mortars before 1872 used “lime” as the cement. A stronger cement was invented in that year, and is called “Portland” cement. Each has a different set of physical properties and need to be used in the right place.
Lime mortar is softer, more flexible, and more easily absorbs and gives off water than Portland, while Portland has a much higher compressive strength, and can also “set” underwater. Each hardens through a different physical process; lime “carbonates” very slowly (48 hours or more), while Portland“hydrates” quickly (about 3 hours). The “concrete” buildings and bridges we know are built using Portland cement, something impossible to do with lime mortar.
As Portland cement was introduced, masons either switched entirely, or mixed it in with the lime mortar they were familiar with. Likewise, during this transition, bricks were able to be made stronger through newer technologies. And, the techniques of joint tooling (how the mortar joint surface is finished) changed to accommodate Portland cement’s different physical properties. The first skill in historic repointing work is to understand these elements, and repoint using the correct mortar formulation for the brick, and the correct tooling.
Formulating the mortar requires close examination of the original mortar, and of the bricks. The absorptive property of the brick makes a major difference in the technique used in repointing. The mortar must be matched in three ways: cement, sand, and color. Without careful work in formulating the new mortar, the new mortar will not match visually, and may cause the bricks to crack or “spall”, that is, have the entire face flake off the brick.
The second skill in repointing is manual. The old mortar must be carefully removed without damaging the bricks. This requires first the careful use of mechanical grinders, then tedious, meticulous hand work with chisels. All mortar must be completely removed to a depth of one and one-half the width of the mortar joint.
The bricks may need to be sprayed with water before repointing to keep the mortar from drying too quickly. The new mortar must be packed into the joint tightly, and must be finished to match the original and remaining mortar using pointing irons, trowels or brushes in different techniques. Most modern tooling techniques (using concave sledrunners) are not acceptable.
Unless historic repointing work is done correctly, permanent damage can be done to the structure, and future repairs may be even more costly, if not impossible.